- Allows video/audio recording/broadcasting
- Allows playback over rtmp, rtsp (on supported devices) and http for various types of media streams
Getting Started
(a) Download and install the application on your android device from google play store:
https://play.google.com/store/apps/details?id=air.air.AndroidBroadcaster
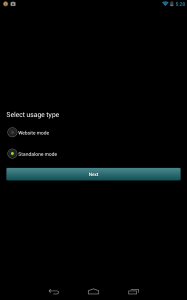
(b) Run the application on your device and select “Standalone mode in the first screen” and press “Next”.
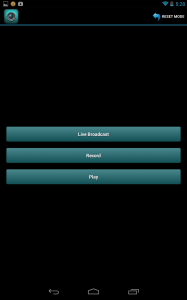
You will then be seeing the menu screen as shown below. You may select a menu item depending upon your requirement. Android Broadcaster menu allows you to Live Broadcast, Record and Play, RTMP / RTMPT / RTSP (capable devices only) based media directly on your android device.
Menu
Live Broadcast
Record
Play
Live Broadcasting
1. Select ‘Live Broadcast” from the menu
2. Fill in your broadcast details in the dialog window shown
Destination: Your rtmp / rtmpt application url
Stream : Your stream name
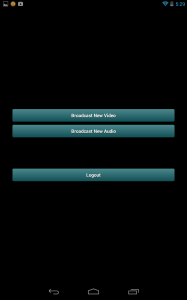
3. Click ok to proceed to broadcast type selection screen. Select Audio/Video broadcast type. Video broadcast includes audio and video, where as Audio broadcast will allow you to publish audio only. Press logout to go back to previous screen.
3. Selecting broadcast type takes you to the broadcast screen. Once you are connected to server the application will notify you.
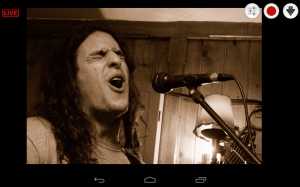
4. Press the red “Publish” button to start publishing. you will see a live indicator in the top left corner of screen when publishing starts
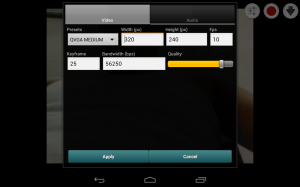
5. At any time you may click the settings button located next to “publish” button to change your broadcast settings. Settings can be changed by selecting a presets and/or changing individual setting values. Once you are done making adjustments , press “apply” to commit settings.
6. To stop broadcasting, press the “Publish” button once more. the “live indicator disappears once publishing has stopped.
Video Recording
1. Select ‘Record” from the menu
2. Fill in your broadcast details in the dialog window shown
Destination: Your rtmp / rtmpt application url
Stream : Your stream name
3. Click ok to proceed to publish type selection screen. Select Audio/Video publish type. Video publishing includes audio and video, where as Audio mode will allow you to publish audio only. Press logout to go back to previous screen.
3. Selecting publish type takes you to the broadcast screen. Once you are connected to server the application will notify you.
4. Press the red “Publish” button to start publishing. you will see a live indicator in the top left corner of screen when publishing starts
5. At any time you may click the settings button located next to “publish” button to change your record settings. Settings can be changed by selecting a presets and/or changing individual setting values. Once you are done making adjustments , press “apply” to commit settings. It is recommended that you do not change settings while recording is going on.
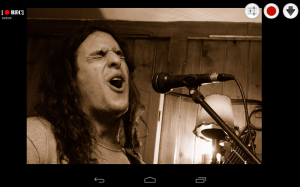
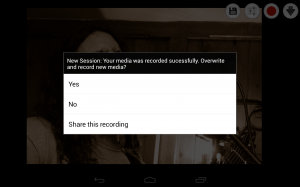
6. To stop recording , press the “Publish” button once more. the “recording indicator disappears once publishing has stopped. You will then be able to see the “save” button.
7. Press the save button to complete the recording session. Once saved you may re record or go back to previous screen to select a different recording mode / stream name.
Playback
1. Select ‘Play” from the menu
2. Enter media url in the dialog window presented.
3. Click ok to be taken to the media player screen where you can see your media playing.
Following URL schemes are supported for playback:
rtmp://cdn.host.bucket/applicationname/streamname
rtmp://cdn.host.bucket/applicationname/streamname.flv
rtmp://cdn.host.bucket/applicationname/streamname.f4v
rtmp://cdn.host.bucket/applicationname/streamname.mp4
http://playbackserver.com/applicationname/streamname.mp4
http://playbackserver.com/applicationname/streamname.flv
http://playbackserver.com/applicationname/streamname.f4v
rtsp://playbackserver.com:554/streamname
Note : For live streams : 25-30 fps is commended for smooth playback
Android Broadcaster also supports a web API, using which you can integrate it with your own website. Once integrated Android Broadcaster has load broadcast settings , publish params directly from your website/database. To know more about the API , contact support[at]flashvisions.com

